
The Ultimate Guide to Caulk Removal: Methods, Tools, and Expert Tips
Caulk is a sealant used in various applications, from bathrooms and kitchens to windows and siding, to prevent water and air infiltration. Over time, caulk can become brittle, cracked, discolored, or even moldy, necessitating its removal and replacement. Knowing how to perform proper caulk removal is crucial for maintaining the integrity and aesthetics of your home. This comprehensive guide provides a step-by-step approach to caulk removal, covering various methods, essential tools, and expert tips for a successful project.
Why You Need to Remove Old Caulk
Before diving into the caulk removal process, it’s important to understand why removing old caulk is necessary. Failing to address deteriorating caulk can lead to several problems:
- Water Damage: Cracked or damaged caulk allows water to seep into walls, floors, and ceilings, potentially causing structural damage and promoting mold growth.
- Mold and Mildew Growth: Caulk can harbor mold and mildew, especially in damp environments like bathrooms and kitchens. This can lead to health problems and unpleasant odors.
- Aesthetic Issues: Old, discolored caulk can detract from the overall appearance of your home. Fresh caulk provides a clean, finished look.
- Reduced Energy Efficiency: Damaged caulk around windows and doors can allow air leaks, increasing energy costs.
Therefore, timely caulk removal and replacement are essential for maintaining a healthy and energy-efficient home.
Essential Tools for Caulk Removal
Having the right tools will make the caulk removal process much easier and more efficient. Here’s a list of essential tools you’ll need:
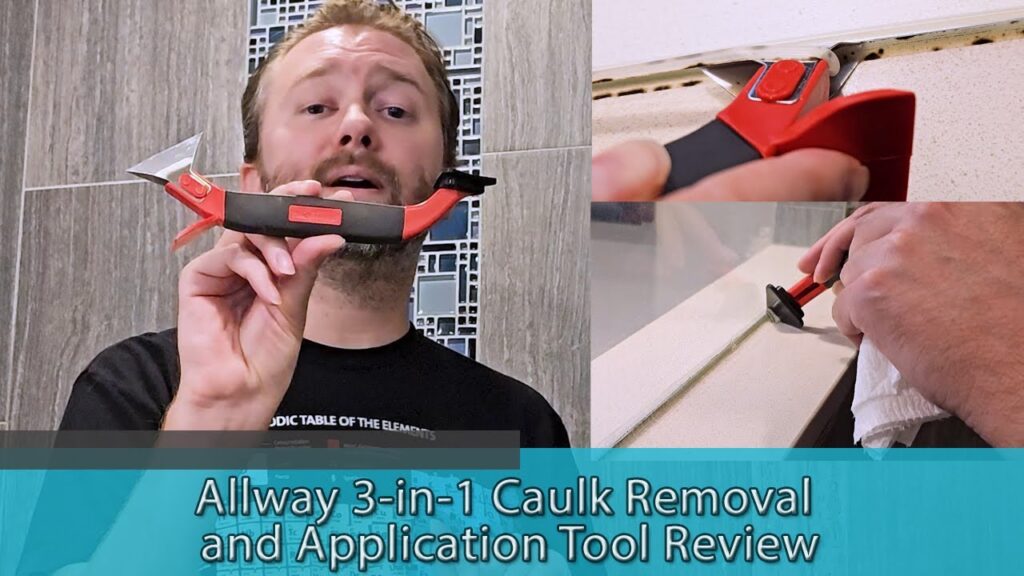
- Caulk Removal Tool: A specialized tool designed for removing caulk without damaging the surrounding surfaces. There are various types available, including manual scrapers and oscillating multi-tools with caulk removal attachments.
- Utility Knife or Razor Blade Scraper: Useful for scoring the caulk and removing larger pieces. Be careful not to scratch the surface beneath the caulk.
- Heat Gun or Hair Dryer: Applying heat can soften the caulk, making it easier to remove. Use caution when using a heat gun to avoid damaging surrounding materials.
- Pliers or Needle-Nose Pliers: Helpful for gripping and pulling out stubborn pieces of caulk.
- Scraper or Putty Knife: Used to scrape away any remaining residue after the bulk of the caulk has been removed.
- Mineral Spirits or Caulk Softener: These solvents can help dissolve caulk residue and make it easier to remove.
- Clean Rags or Paper Towels: For cleaning up debris and applying solvents.
- Safety Glasses and Gloves: To protect your eyes and hands during the caulk removal process.
Step-by-Step Guide to Caulk Removal
Follow these steps for effective caulk removal:
Step 1: Prepare the Area
Before you begin, protect the surrounding surfaces with painter’s tape to prevent scratches and damage. Ensure the area is well-ventilated, especially if you’re using solvents. Gather all your tools and supplies.
Step 2: Soften the Caulk (Optional)
If the caulk is particularly hard or brittle, you can soften it with a heat gun or hair dryer. Apply heat evenly along the caulk line for a few seconds at a time. Be careful not to overheat the caulk, as this can damage the surrounding surfaces. Alternatively, you can use a caulk softener product, following the manufacturer’s instructions.
Step 3: Score the Caulk
Use a utility knife or razor blade scraper to score the caulk along both edges. This will help to separate the caulk from the surrounding surfaces and prevent chipping or peeling. Be careful not to cut into the underlying material.
Step 4: Remove the Bulk of the Caulk
Using your chosen caulk removal tool, carefully remove the bulk of the caulk. If you’re using a manual scraper, apply steady pressure and work along the caulk line. If you’re using an oscillating multi-tool, use a low speed and guide the tool along the caulk line. For stubborn pieces, use pliers or needle-nose pliers to grip and pull them out.
Step 5: Remove Remaining Residue
Once you’ve removed the bulk of the caulk, there will likely be some residue remaining. Use a scraper or putty knife to carefully scrape away any remaining caulk. Apply mineral spirits or a caulk softener to a clean rag and wipe the area to dissolve any stubborn residue. [See also: How to Choose the Right Caulk for Your Project]
Step 6: Clean the Surface
After removing all the caulk and residue, thoroughly clean the surface with a mild detergent and water. Rinse well and allow the surface to dry completely before applying new caulk. This ensures that the new caulk will adhere properly.
Different Methods for Caulk Removal
There are several methods you can use for caulk removal, each with its own advantages and disadvantages:
Manual Scraping
This method involves using a manual caulk removal tool or a utility knife to scrape away the caulk. It’s a simple and inexpensive method, but it can be time-consuming and requires some elbow grease. It’s best suited for small areas and relatively soft caulk.
Using an Oscillating Multi-Tool
An oscillating multi-tool with a caulk removal attachment can make the job much faster and easier. The vibrating action of the tool helps to loosen the caulk and prevent damage to the surrounding surfaces. This method is more expensive but is ideal for larger areas and tougher caulk.
Chemical Softeners
Chemical caulk softeners can dissolve the caulk, making it easier to remove. These products are typically applied to the caulk and allowed to sit for a period of time before scraping it away. While effective, they can be messy and may contain harsh chemicals, so proper ventilation and safety precautions are essential. [See also: Preventing Mold Growth in Your Bathroom]
Heat Application
Applying heat with a heat gun or hair dryer can soften the caulk, making it easier to scrape away. This method is best suited for acrylic or latex caulk. Be careful not to overheat the caulk, as this can damage the surrounding surfaces.
Tips for Successful Caulk Removal
Here are some additional tips to ensure a successful caulk removal project:
- Work in Small Sections: Focus on removing the caulk in small sections at a time to maintain control and prevent damage.
- Use the Right Tool: Choose the appropriate caulk removal tool for the type of caulk and the size of the area.
- Apply Even Pressure: When scraping the caulk, apply even pressure to avoid gouging or scratching the surrounding surfaces.
- Be Patient: Caulk removal can be a time-consuming process, so be patient and take your time.
- Clean Up Thoroughly: After removing the caulk, thoroughly clean the surface to ensure proper adhesion of the new caulk.
- Ventilate the Area: Ensure proper ventilation, especially when using chemical softeners or solvents.
Choosing the Right Replacement Caulk
After successfully completing the caulk removal process, selecting the appropriate replacement caulk is crucial for achieving long-lasting results. Different types of caulk offer varying levels of durability, flexibility, and resistance to moisture and mold. Consider the specific application and environmental conditions when making your choice.
For bathrooms and kitchens, opt for a mildew-resistant caulk specifically formulated to withstand high humidity and prevent mold growth. Silicone caulk is a popular choice due to its excellent water resistance and flexibility. Acrylic latex caulk is another option, offering good adhesion and paintability.
For exterior applications, such as sealing windows and siding, choose a caulk that is weather-resistant and can withstand temperature fluctuations. Polyurethane caulk is a durable option that provides excellent adhesion and flexibility. [See also: How to Apply Caulk Like a Pro]
Conclusion
Caulk removal is a necessary task for maintaining the integrity and appearance of your home. By following these steps and using the right tools, you can successfully remove old caulk and prepare the surface for new sealant. Remember to prioritize safety and take your time to achieve the best results. With a little patience and effort, you can restore the beauty and functionality of your home.
