Mastering the Minecraft Potion Maker Recipe: A Comprehensive Guide
Brewing potions in Minecraft is an essential skill for survival and advancement. Whether you’re looking to gain an edge in combat, explore underwater ruins, or simply navigate the world more efficiently, understanding the Minecraft potion maker recipe is key. This guide provides a comprehensive overview of everything you need to know about brewing potions, from gathering ingredients to understanding the various effects they provide.
The Brewing Stand: Your Potion-Making Hub
The brewing stand is the central component for creating potions. It’s a crucial crafting station that allows you to combine ingredients with water bottles to produce a variety of beneficial effects. To craft a brewing stand, you’ll need:
- 1 Blaze Rod (obtained from Blazes in the Nether)
- 3 Cobblestone (found abundantly in the Overworld)
Place the Blaze Rod in the center slot of the crafting table and the three cobblestone blocks in the bottom row. This will yield your very own brewing stand, ready to start your potion-making journey.
Essential Ingredients: Gathering Your Supplies
Before you can brew any potions, you need to gather the necessary ingredients. These ingredients fall into several categories, each playing a specific role in the brewing process. Understanding these roles is crucial for mastering the Minecraft potion maker recipe.
Base Ingredients: Starting the Brewing Process
Base ingredients are used to create awkward potions, which serve as the foundation for most other potions. The most common base ingredients are:
- Nether Wart: Found in Nether Fortresses, necessary for nearly every potion.
- Glistering Melon Slice: Crafted from a melon and gold nuggets, used for potions of healing and harming.
- Spider Eye: Dropped by spiders, used for potions of poison.
- Ghast Tear: Dropped by Ghasts in the Nether, used for potions of regeneration.
- Magma Cream: Crafted from blaze powder and slimeballs, used for potions of fire resistance.
- Sugar: Crafted from sugar cane, used for potions of swiftness.
Modifiers: Enhancing Potion Effects
Modifiers are added to potions to enhance their effects, increase their duration, or add new properties. Common modifiers include:
- Redstone Dust: Increases the duration of a potion’s effect.
- Glowstone Dust: Increases the potency of a potion’s effect, but reduces its duration.
- Gunpowder: Turns a potion into a splash potion, allowing you to throw it.
- Dragon’s Breath: Turns a potion into a lingering potion, creating a cloud of effect.
- Fermented Spider Eye: Corrupts a potion, reversing or altering its effect.
The Brewing Process: Step-by-Step Guide
Now that you have your brewing stand and ingredients, let’s walk through the brewing process step-by-step, following the Minecraft potion maker recipe.
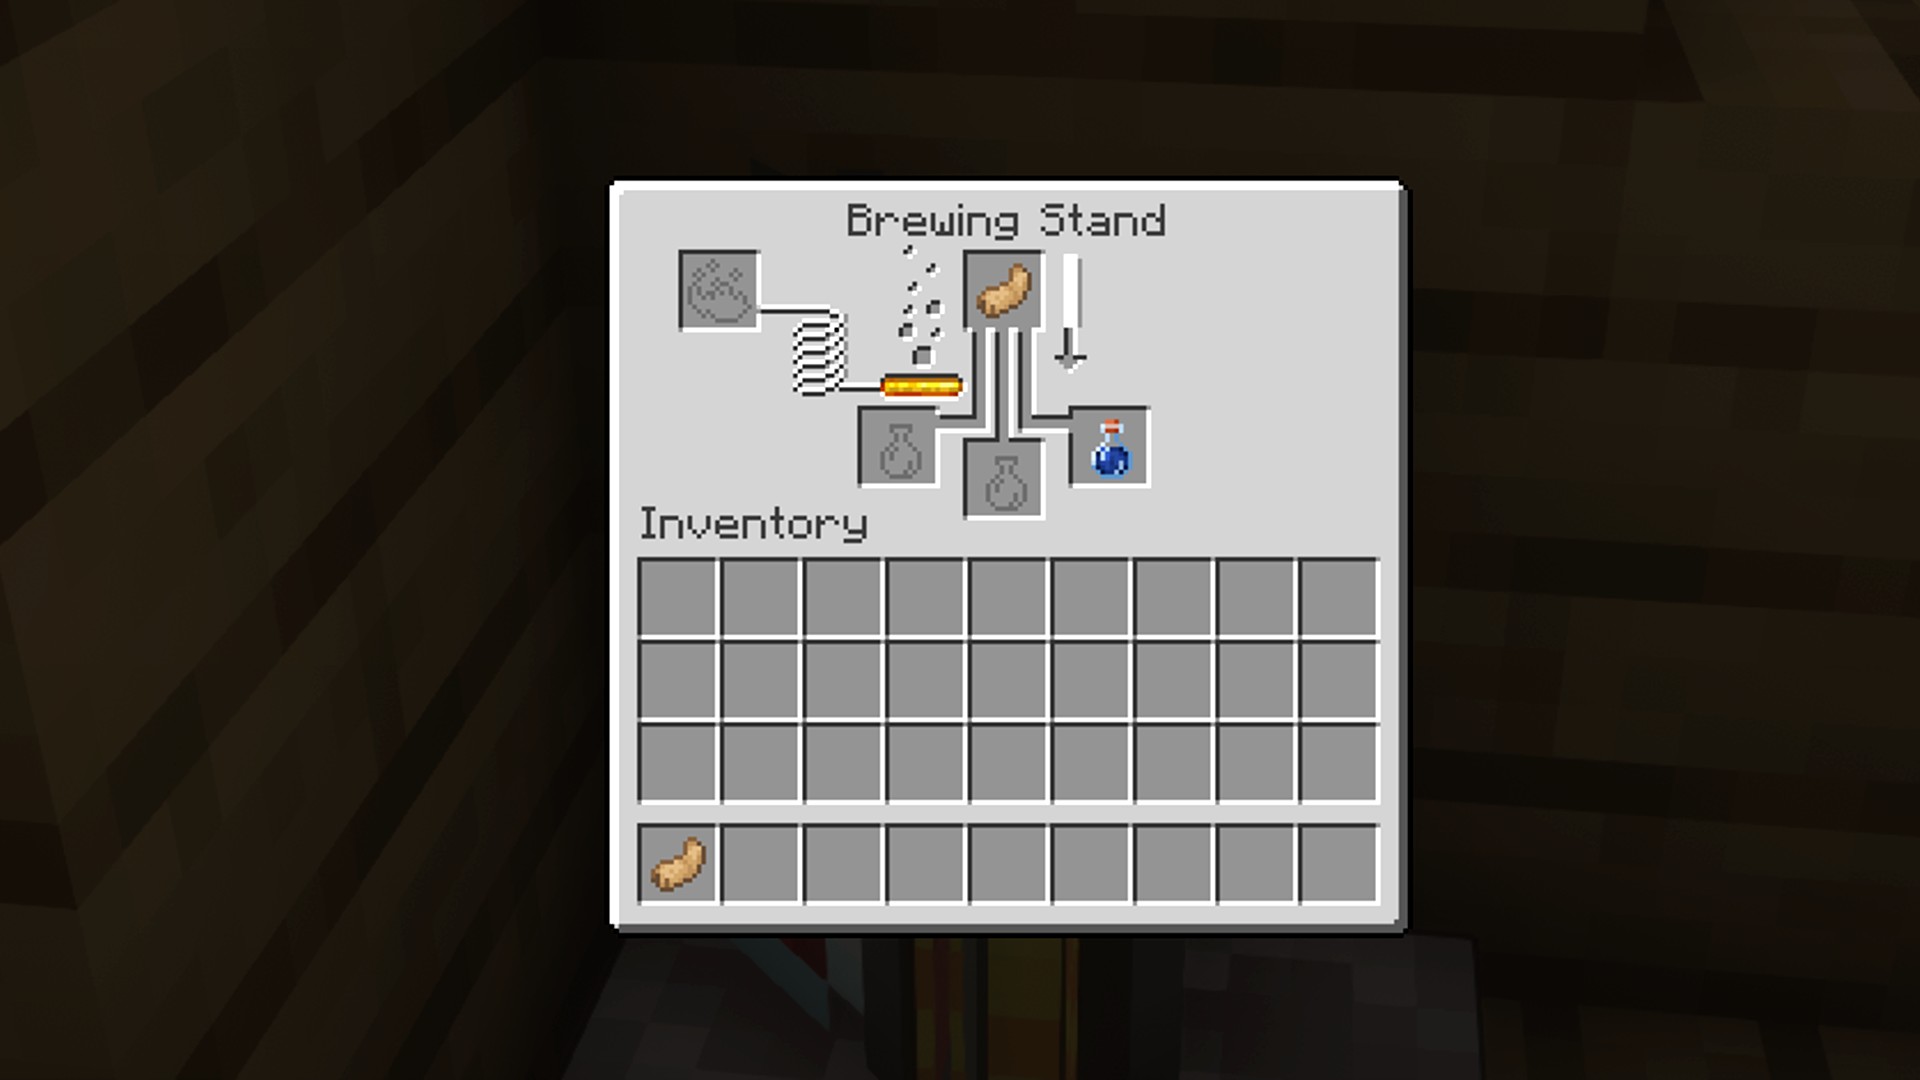
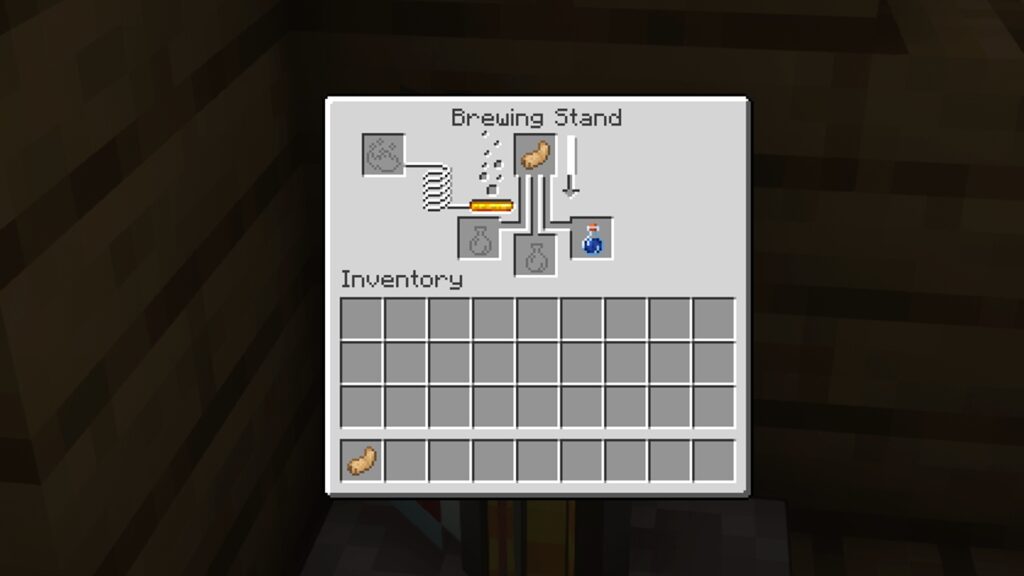
- Place the brewing stand: Position your brewing stand in a convenient location.
- Add fuel: Brewing stands require Blaze Powder as fuel. Place Blaze Powder in the top-left slot of the brewing stand interface.
- Fill water bottles: Fill glass bottles with water from any water source. You can fill up to three bottles at a time in the brewing stand.
- Add base ingredient: Place your chosen base ingredient (usually Nether Wart) in the top slot of the brewing stand. This will create awkward potions.
- Add modifier: Once the awkward potions are brewed, add your desired modifier to create the final potion.
- Wait: The brewing process takes approximately 20 seconds per step. Be patient and wait for the progress bar to fill.
- Collect your potion: Once the brewing is complete, collect your potions from the bottom slots.
Potion Recipes: A Comprehensive List
Here’s a list of some common potion recipes and their effects. Understanding these recipes will make you a master of the Minecraft potion maker recipe.
Basic Potions
- Awkward Potion: Water Bottle + Nether Wart (Base for most potions)
- Mundane Potion: Water Bottle + Any other ingredient (except Nether Wart, Redstone Dust, Glowstone Dust, Gunpowder, Fermented Spider Eye, Dragon’s Breath)
- Thick Potion: Water Bottle + Glowstone Dust
Beneficial Potions
- Potion of Healing: Awkward Potion + Glistering Melon Slice (Restores health)
- Potion of Regeneration: Awkward Potion + Ghast Tear (Gradually restores health)
- Potion of Swiftness: Awkward Potion + Sugar (Increases movement speed)
- Potion of Fire Resistance: Awkward Potion + Magma Cream (Grants immunity to fire damage)
- Potion of Night Vision: Awkward Potion + Golden Carrot (Allows you to see in the dark)
- Potion of Invisibility: Potion of Night Vision + Fermented Spider Eye (Makes you invisible)
- Potion of Strength: Awkward Potion + Blaze Powder (Increases melee damage)
- Potion of Leaping: Awkward Potion + Rabbit’s Foot (Increases jump height)
- Potion of Water Breathing: Awkward Potion + Pufferfish (Allows you to breathe underwater)
- Potion of Slow Falling: Awkward Potion + Phantom Membrane (Reduces falling speed)
Harmful Potions
- Potion of Poison: Awkward Potion + Spider Eye (Inflicts poison damage)
- Potion of Weakness: Awkward Potion + Fermented Spider Eye (Reduces melee damage)
- Potion of Harming: Awkward Potion + Fermented Spider Eye + Glistering Melon Slice (Deals instant damage)
- Potion of Slowness: Awkward Potion + Fermented Spider Eye + Sugar (Reduces movement speed)
Advanced Techniques: Mastering Potion Brewing
Once you’ve mastered the basics, you can explore advanced techniques to further enhance your potion brewing skills. These techniques include maximizing potion duration, increasing potion potency, and creating splash and lingering potions.
Maximizing Potion Duration
To increase the duration of a potion, add Redstone Dust after brewing the base potion. This will significantly extend the time the potion’s effects last. For example, a Potion of Swiftness normally lasts for 3 minutes, but adding Redstone Dust will extend it to 8 minutes.
Increasing Potion Potency
To increase the potency of a potion, add Glowstone Dust after brewing the base potion. This will make the potion’s effects stronger, but it will also reduce its duration. For example, a Potion of Healing normally restores 2 hearts, but adding Glowstone Dust will increase it to 4 hearts.
Creating Splash and Lingering Potions
Splash potions are created by adding Gunpowder to a regular potion. This turns the potion into a throwable item that affects all entities within a certain radius. Lingering potions are created by adding Dragon’s Breath to a splash potion. This creates a cloud of effect that lingers in the air, affecting any entities that pass through it.
Troubleshooting Common Issues
Sometimes, things don’t go as planned when brewing potions. Here are some common issues and how to troubleshoot them:
- Potion not brewing: Make sure you have enough Blaze Powder in the brewing stand to fuel the process. Also, ensure you’re using the correct ingredients in the correct order.
- Potion has no effect: Double-check that you’re using the correct base ingredient and modifier for the desired effect. Some ingredients may produce unexpected results when combined.
- Potion duration is too short: Add Redstone Dust to increase the duration of the potion’s effect.
- Potion potency is too weak: Add Glowstone Dust to increase the potency of the potion’s effect.
Conclusion: Becoming a Potion Master
Mastering the Minecraft potion maker recipe is a rewarding endeavor that can significantly enhance your gameplay experience. By understanding the brewing process, gathering the necessary ingredients, and experimenting with different combinations, you can create a wide range of potions to suit your needs. Whether you’re exploring dangerous dungeons, battling formidable foes, or simply navigating the world more efficiently, potions are an invaluable asset. So, grab your brewing stand, gather your ingredients, and start brewing your way to victory! Remember to always consult the Minecraft potion maker recipe to ensure you’re on the right track. Happy brewing!
[See also: Minecraft Enchanting Guide for Beginners]
[See also: Exploring the Nether in Minecraft]
[See also: Minecraft Survival Tips and Tricks]
